In order to give them a challenge/purpose for looking at 3D shapes etc I decided to set them a task of creating the packaging for a mini set of Pringles crisps. I set them the context that the manager of Pringles wanted to create a 'lunchbox' sized pack of Pringles and that he was looking for designs for the package of this box.
I got the idea from this resource uploaded on the TES.
Like the resource suggests the packaging must have been made using a single piece of A4 paper - to ensure the package is small enough to fit in lunchboxes and also saves on production costs etc.
I started the lesson by using my 3D shapes '4 words 1 pic' resource that I blogged about here. Then, having tweaked the above packaging resource slightly, gave the class a matching activity of some common 3D shapes and their relative nets to give them some ideas of what sort of packages they could create.
I naturally got some Pringles out then to model the sort of thing they needed to create and told them the basic measurements of a single Pringle, and then a stack of 5 Pringles for the 'mini-packet' they were creating.
The class were then given free reign of the type of packaging they wanted to create. I did however keep a list of success criteria on the board with the all things I wanted to see from their packaging (very much like the list in the resource but tweaked to include the number of edges, vertices and faces of their package).
As the students were working I went round the room checking the accuracy of their net designs and reminded them of the size of the Pringles they needed to package/house. I was impressed by how many students decided to create challenging packages - some were attempting cylinders, pentagonal prisms, trapezoids etc. There were a good amount of students that were doing cuboids too (differentiation by outcome here).
When the class got to the point where they were ready to build their 3D shape from their (checked) net I discussed with the class the need for tabs and how they would then stick their package together. I then gave them a Pringle each to use to ensure their 3D package could fit the crisp!
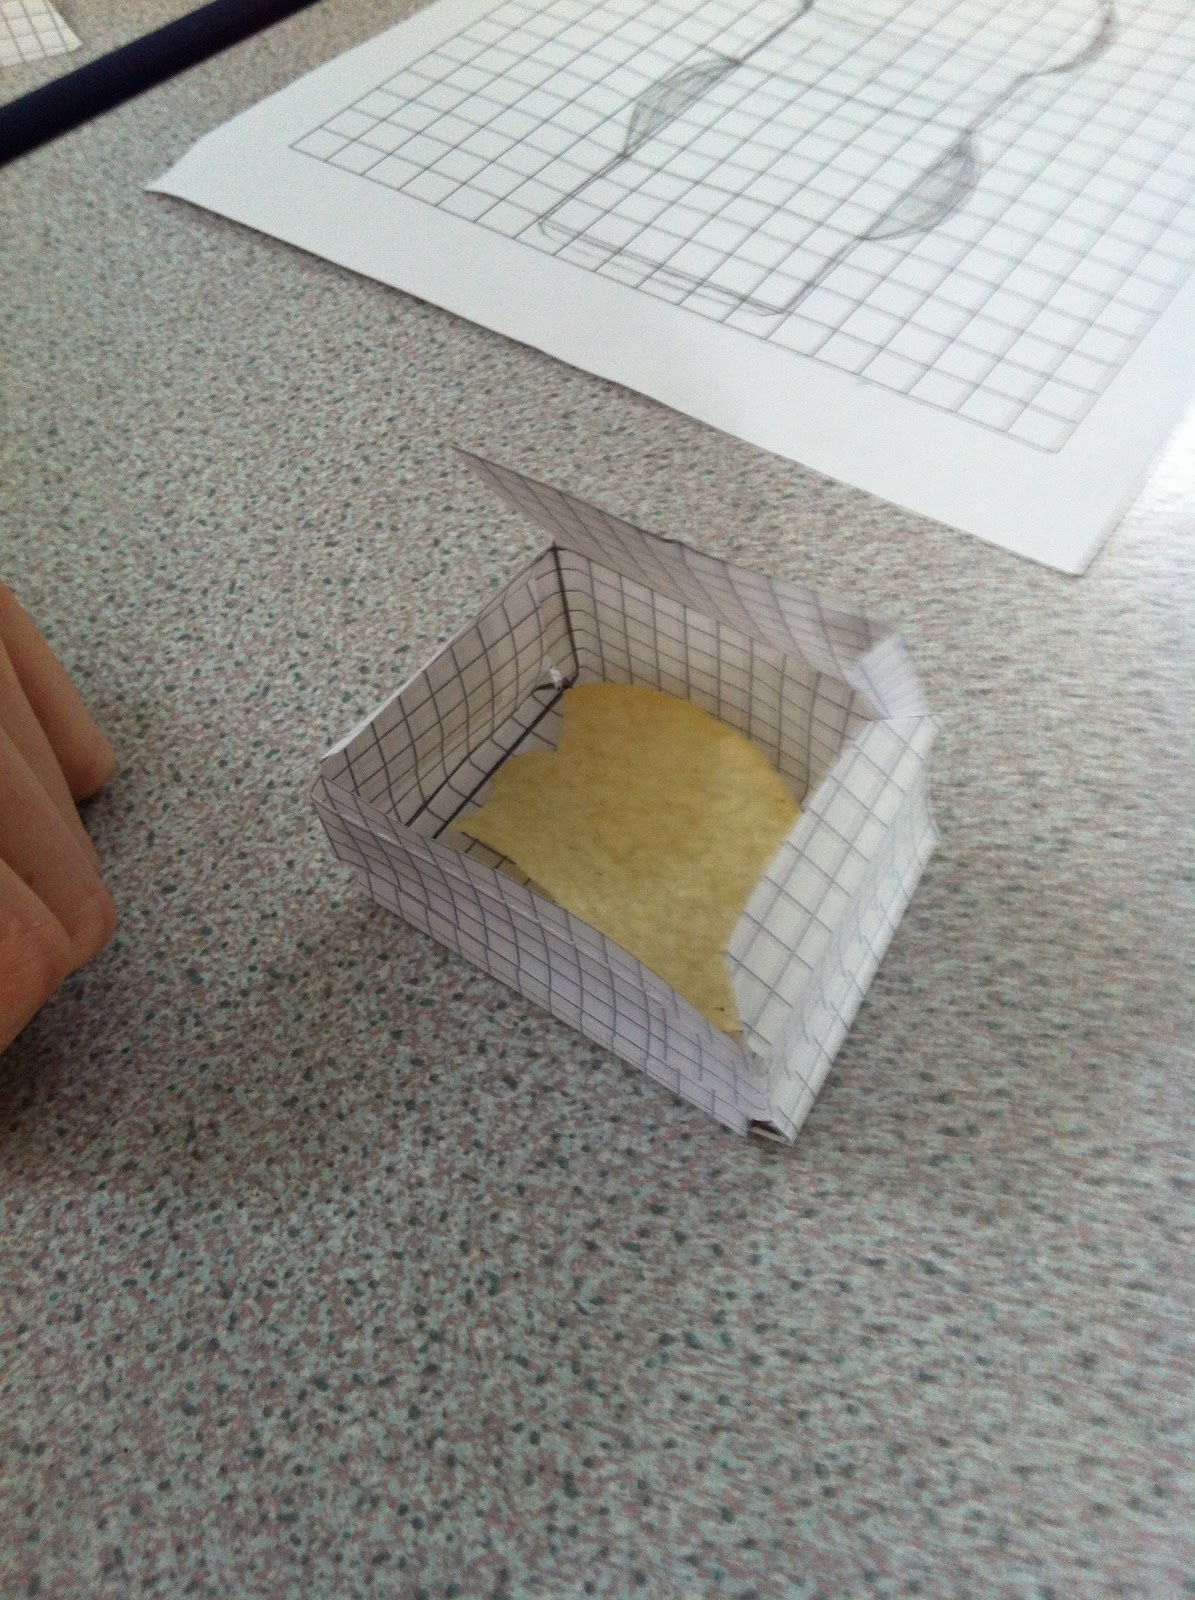
Here are some of the class' finished packages (some Pringles included!). As you can see I was mainly focusing on the class having a go at create a net and then creating their 3D shape - I wasn't too concerned with them actually designing the packaging, colouring it in, putting the logo on them etc etc.


A cuboid, complete with an 'openable' lid


An attempt at a trapezoid here, not as accurate as it could have been - again, issues here to do with the lengths of the sides of the faces when drawing the nets! Something I can go over with the class next lesson.

After these 2 lessons looking at 3D shapes and their packages for the Pringles we looked at creating more polyhedra by using my class set of Polydron. With the exception of the polyhedra that used the pentagons and hexagons (I didn't have these in my polydron set) I used this resource from the TES to get the students to discover Euler's relation between the edges (E), vertices (V) and faces (F) of the polyhedra they created.
I made good use of the website suggested in the description of the resource to print off the nets of the polyhedra mentioned on the w/sheet. This meant that students were either a) using the Polydron to create the shapes and identify the F, E, V b) making the polyhedra from the nets and then identifying the F, E, V or c) looking at the images on the w/sheet to work out the F, E, V for each.
1 of the students then managed to correctly identify Euler's relation between the F, E and V - I was extremely impressed here and lot of VIVOs (my school's rewards system) were given! At the end of the lesson, and for the plenary, I asked said student to tell the class what he had found, I wrote it on the board and then asked the rest of the class to see if it worked with the F, E and V they had identified themselves. Cue LOADS of 'oh yeah' moments from the rest of the class - this moment in class was one of those moments I have had when I feel the whole class have just 'clicked' or had that 'lightbulb' moment - great stuff!
Tidak ada komentar:
Posting Komentar